

My goodness. It’s been way too long since my last blog post – life and the holidays took over, and I planned to blog a TON over Christmas break, but then I’ve had bronchitis for 10 days! Which is the worst way to spend a break when you have plans and energy and mile-long to do lists! Hopefully I am on the mend, and will get back to posting regularly soon.
We left off with the demolition of the guest bathroom at Jackson Street. Next up, we framed the shower, prepped the floor, and began tiling the floor. We started by leveling the floor, repairing any subfloor that needed repairs, and putting down backerboard. This was our very FIRST experience with tiling. I was surprised by how much effort went into the prep work, and how easy it was to do the actual tile and grout (I figured it would be the opposite).


In the last picture, you can see at the top the beginning for the framing for the floor of the shower. At first, we just used the shower floor to keep all of our tiling supplies from escaping.


Then, we built the wall for the tub, and the shower bench. One thing we REALLY wish we had done afterwards was to think about the shower bench a bit more. If we had, we would have – 100% – brought the in-floor heating up and around the shower bench to keep the bench warm during showers. Not a big deal, but it would be a neat addition.
When starting the in-floor heating, we made sure that the seams for the backerboard were all filled in. We used a wire-system, which allowed us to really customize to the room.


We had to test the wire throughout the entire process to make sure that we didn’t knick anything. Luckily, it was smooth sailing!


After the wire was down, we leveled out the floor with thinset. This step wasn’t totally necessary – when we later did the Kitchen at Martin Place, we did the tile and “trapping the wire in thinset” in one step, which was both easier, and less bulky. But this way worked as well, it just took a bit longer.

Let’s talk about this tile! I wanted something vintage-y, and I was especially draw to a hex pattern. But everything I found was just too expensive. We found this on a day that we weren’t even looking for tile – at Home Depot for $2 a square foot on clearance. Done and DONE. It’s fantastic! We opted to do a glossy black border around the room for two reasons : One – It would look amazing. Two – The room wasn’t square. We knew that. My $.02 : By adding the black border, we could trick the eye and make the black border fit the non-square room, but keep the actual black and white field tile square.


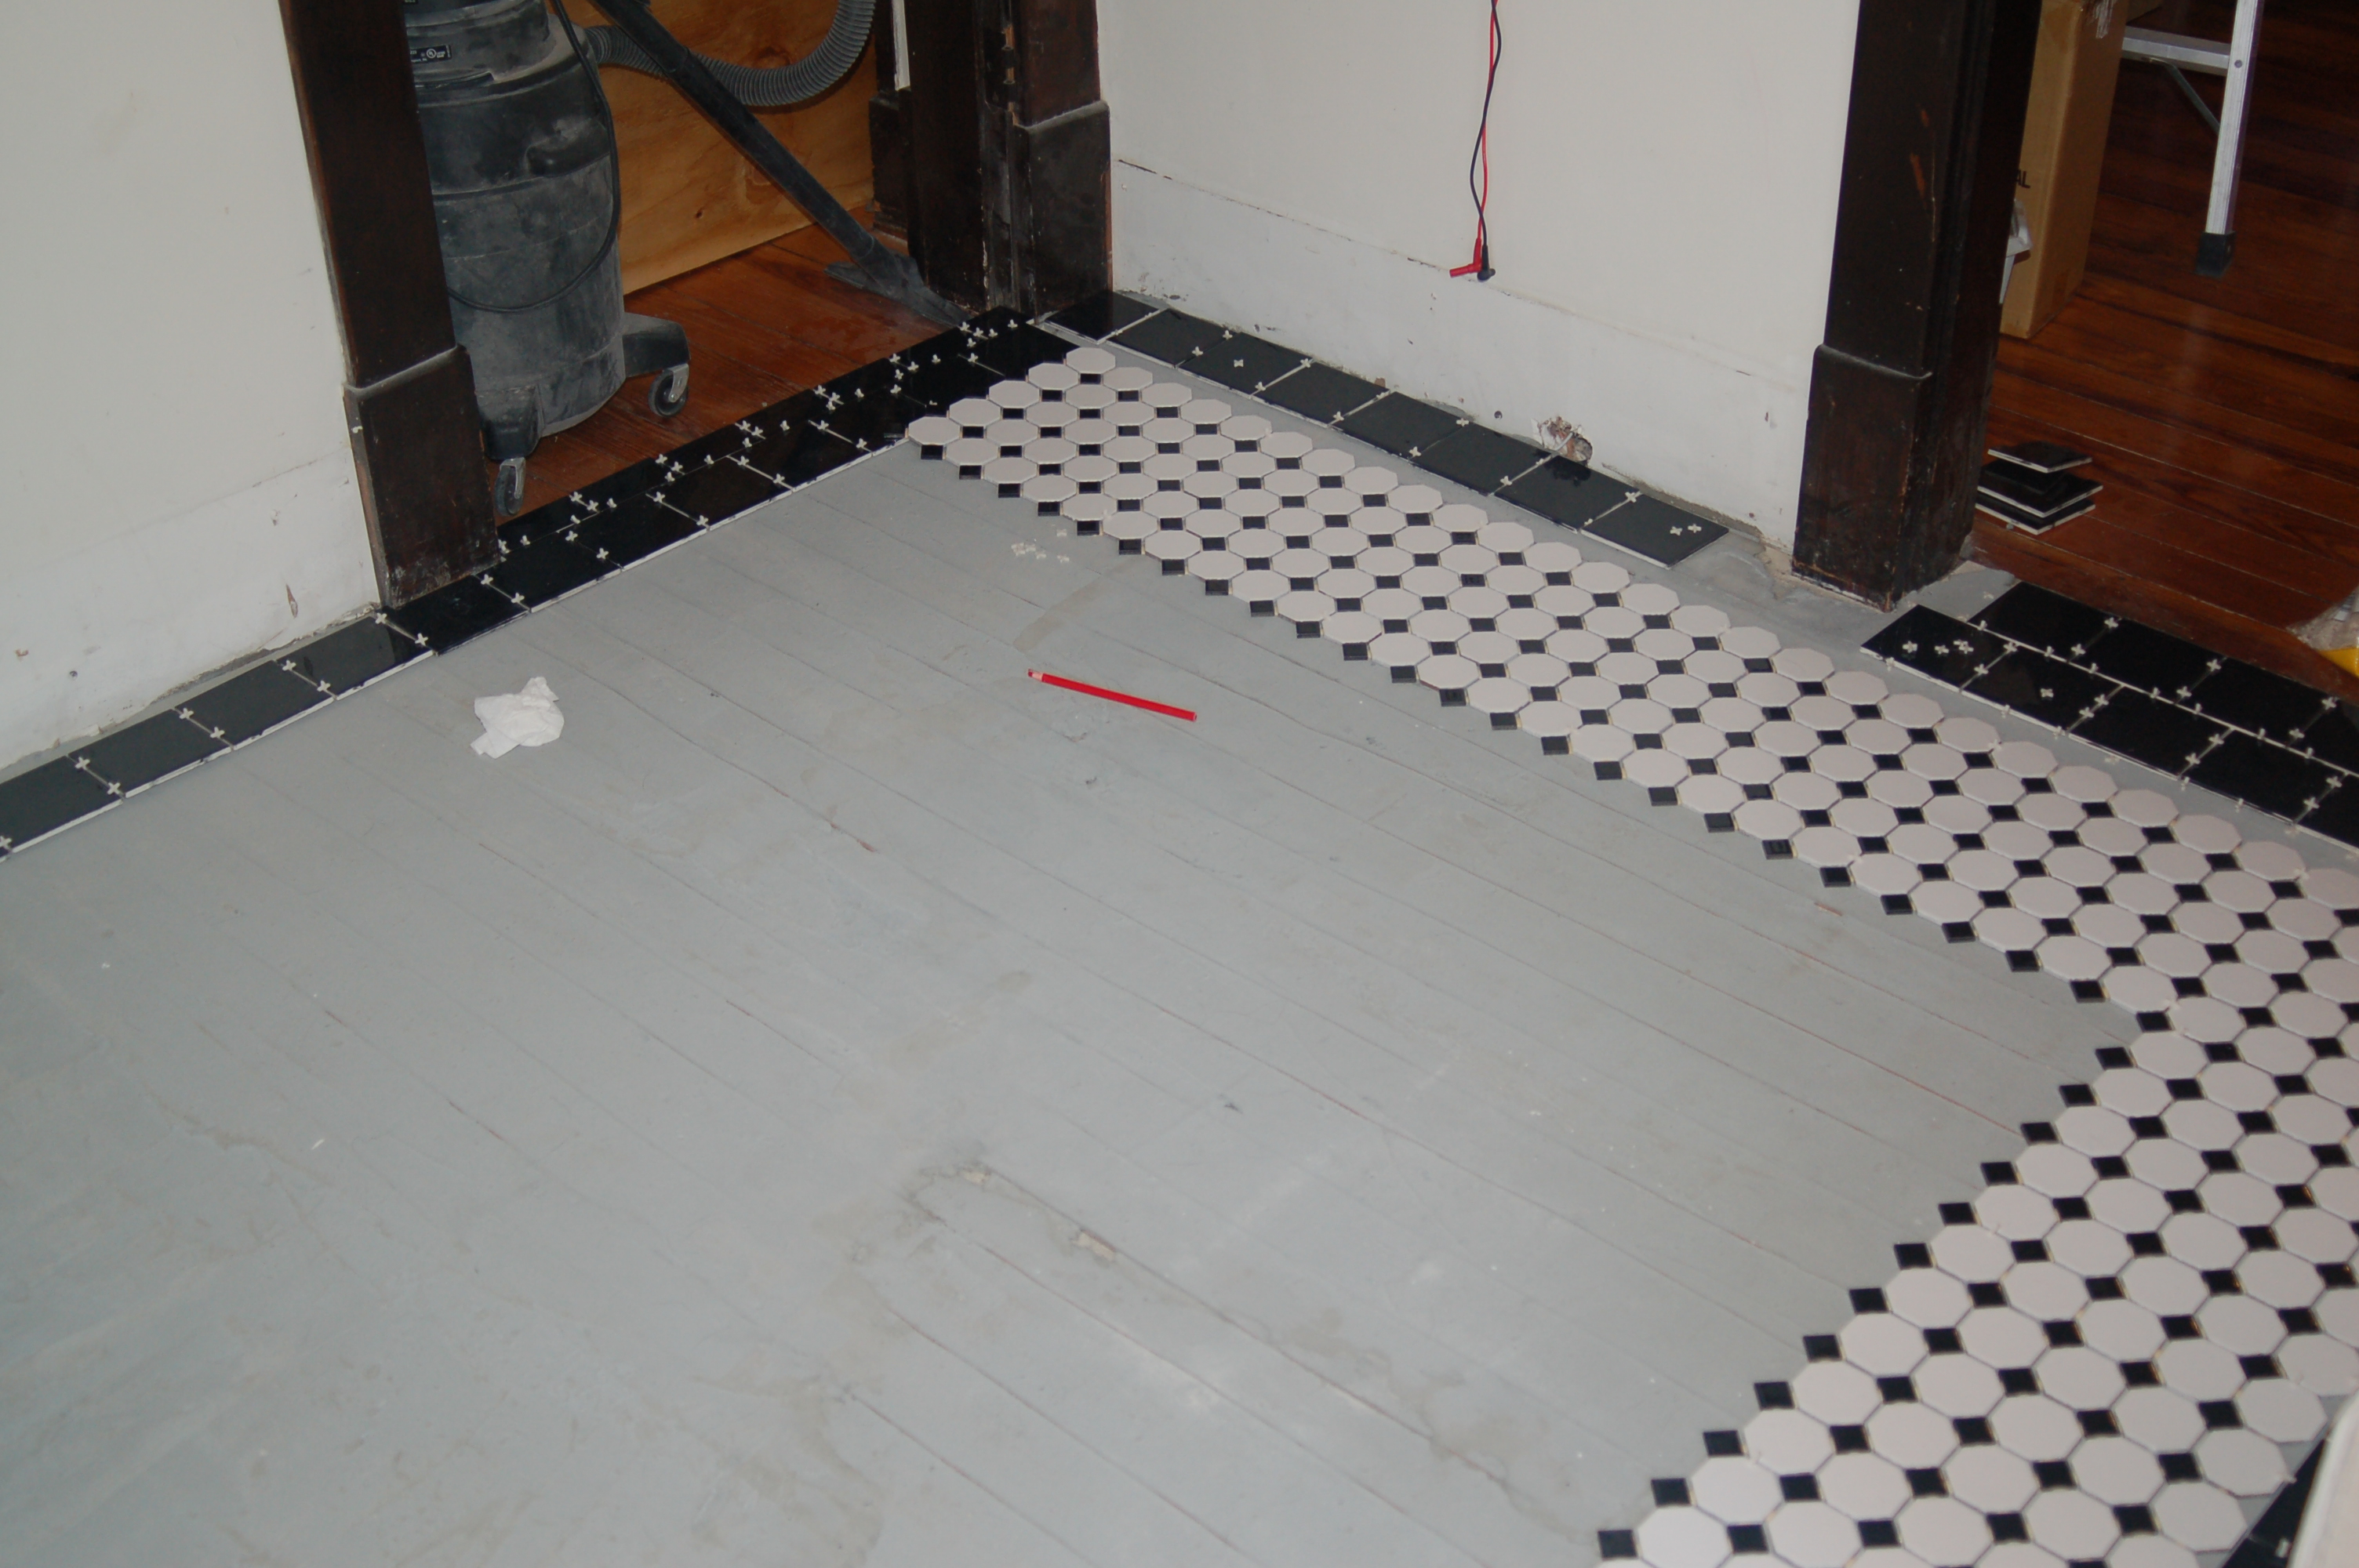

We started by dry-fitting all the tile.
So. Freaking. Tedious.
Again, Doug lives for perfection which is why everything LOOKS SO GOOD and takes so long. Really? Do we HAVE to have each piece cut before we start the floor? Really? Can’t we just GO?!?!?!


Nope.


Again, he is the reason things look so good in the end. I sketch and design and have so many ideas and I want them all done NOW. But he’s the one that makes sure it’s done perfectly the way I see it in my head. But lord. It takes time.


Time to Grout!

We chose black grout after a long debate on black v. white. I even did a Facebook poll to see what everyone else thought. We figured that black grout would both bring out the pattern in the tile and hi-light it (I’m not one for subtle pattern), and we also thought it would hide dirt and dust better over time. Black grout is way WAY messier to deal with than white grout, and the application and wiping process can be droll. But it’s easy work, as long as you don’t mind sitting and kneeling on tile forever. Knee pads and volleyball pads are your friends here!


It turned out beautiful! If you missed part one, check it out HERE.