

“Wait. It’s not Friday. Why are you doing a Flashback Friday Post on Thursday?”
Well, because I’m a rebel. And I was home with a sick dog today (Wednesday). So it was quite nice to write while snuggled on the couch with puppy-girl hoping she felt better. And are any of you really paying attention, anyways?
Shower time! This was the first shower we built, and we had to do a custom shower to fit in the space that we had. It was not the easiest thing to do – to build a shower pan – but we did it (mostly Doug did it). Here, the drain is in, and we have the mesh backing for the shower mud, which really is like a dense sand that you can mold to the right levels and shape.


And we built a shower bench!


The sand box of shower pans! Sometimes renovation is messy and gross and gets everywhere, but you feel like you are 5 years old again and it becomes delightful. Except that you have time limits. Boo.
And, of course, we were under constant – yet excellent – supervision.

I designed some niches in the shower for storage. I drew the pictures, and Doug made it happen. Meticulously leveled of course!


We continued the floor tile from the rest of the room into the floor of the shower, and installed the backerboard for the wall tile. It was a bit tricky around the niches and around the bench, but we worked it out. Magic.


Time for Tile! I’m a big fan of a black and white color scheme in a bathroom for the fixed elements. If you get sick of the color of the room, you just paint the walls, and the tile is still a classic go-with-anything. Starting with a ledger board on the bottom ensures that the installation is level – provided, of course, that your ledger board is also level (which ours was!).


Tile!


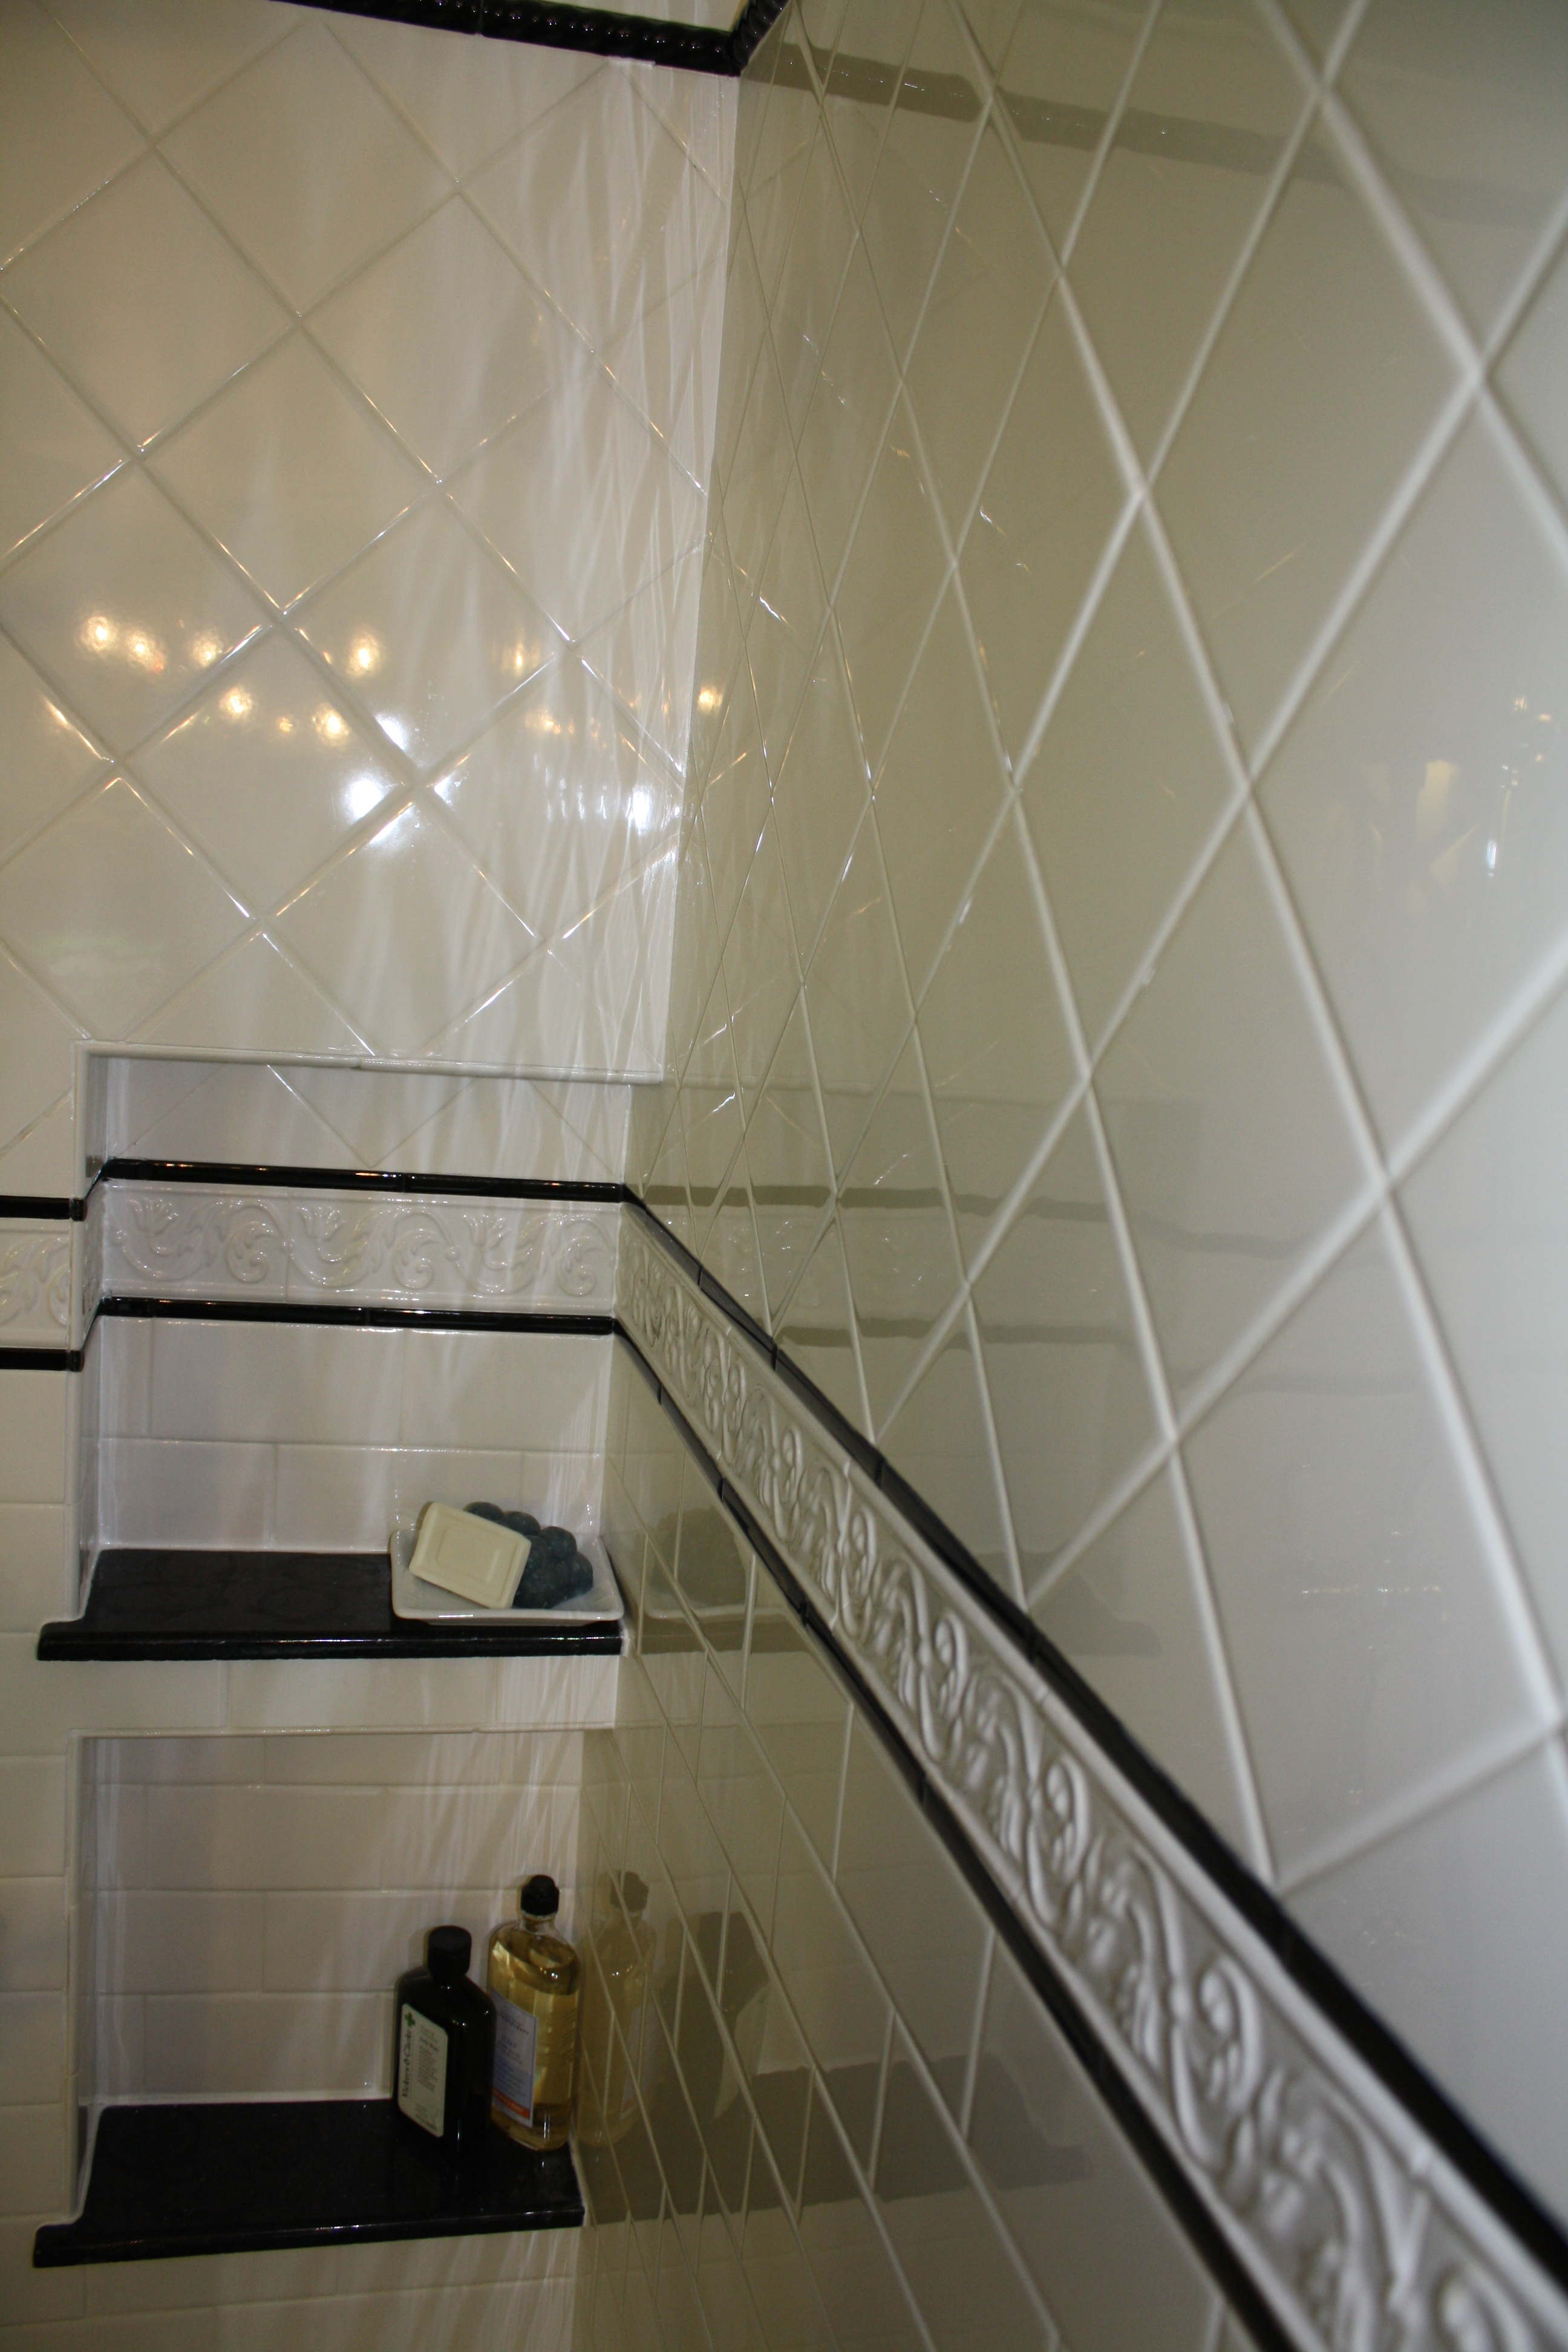
We did a classic subway brick pattern about 2/3 up the wall, then added a decorative border surrounded by black pencil tile. Above the subway, we installed a 4×4 square on the diagonal. Simple, adds interest, and pretty inexpensive as far as tile goes. And we always tile all the way up to the ceiling, since nothing is ever square or level in an old house. It makes things WAY easier.


We used a quartz product as the shower bench seat, and inside the niches, and on the curb of the shower. The punch of black (with SILVER SPARKLES) really added drama to the room – like when you put the jacket on a tuxedo. Loved it.


Taking the border through the shower niches may have been the hardest part of the project. But it sure looked cool!

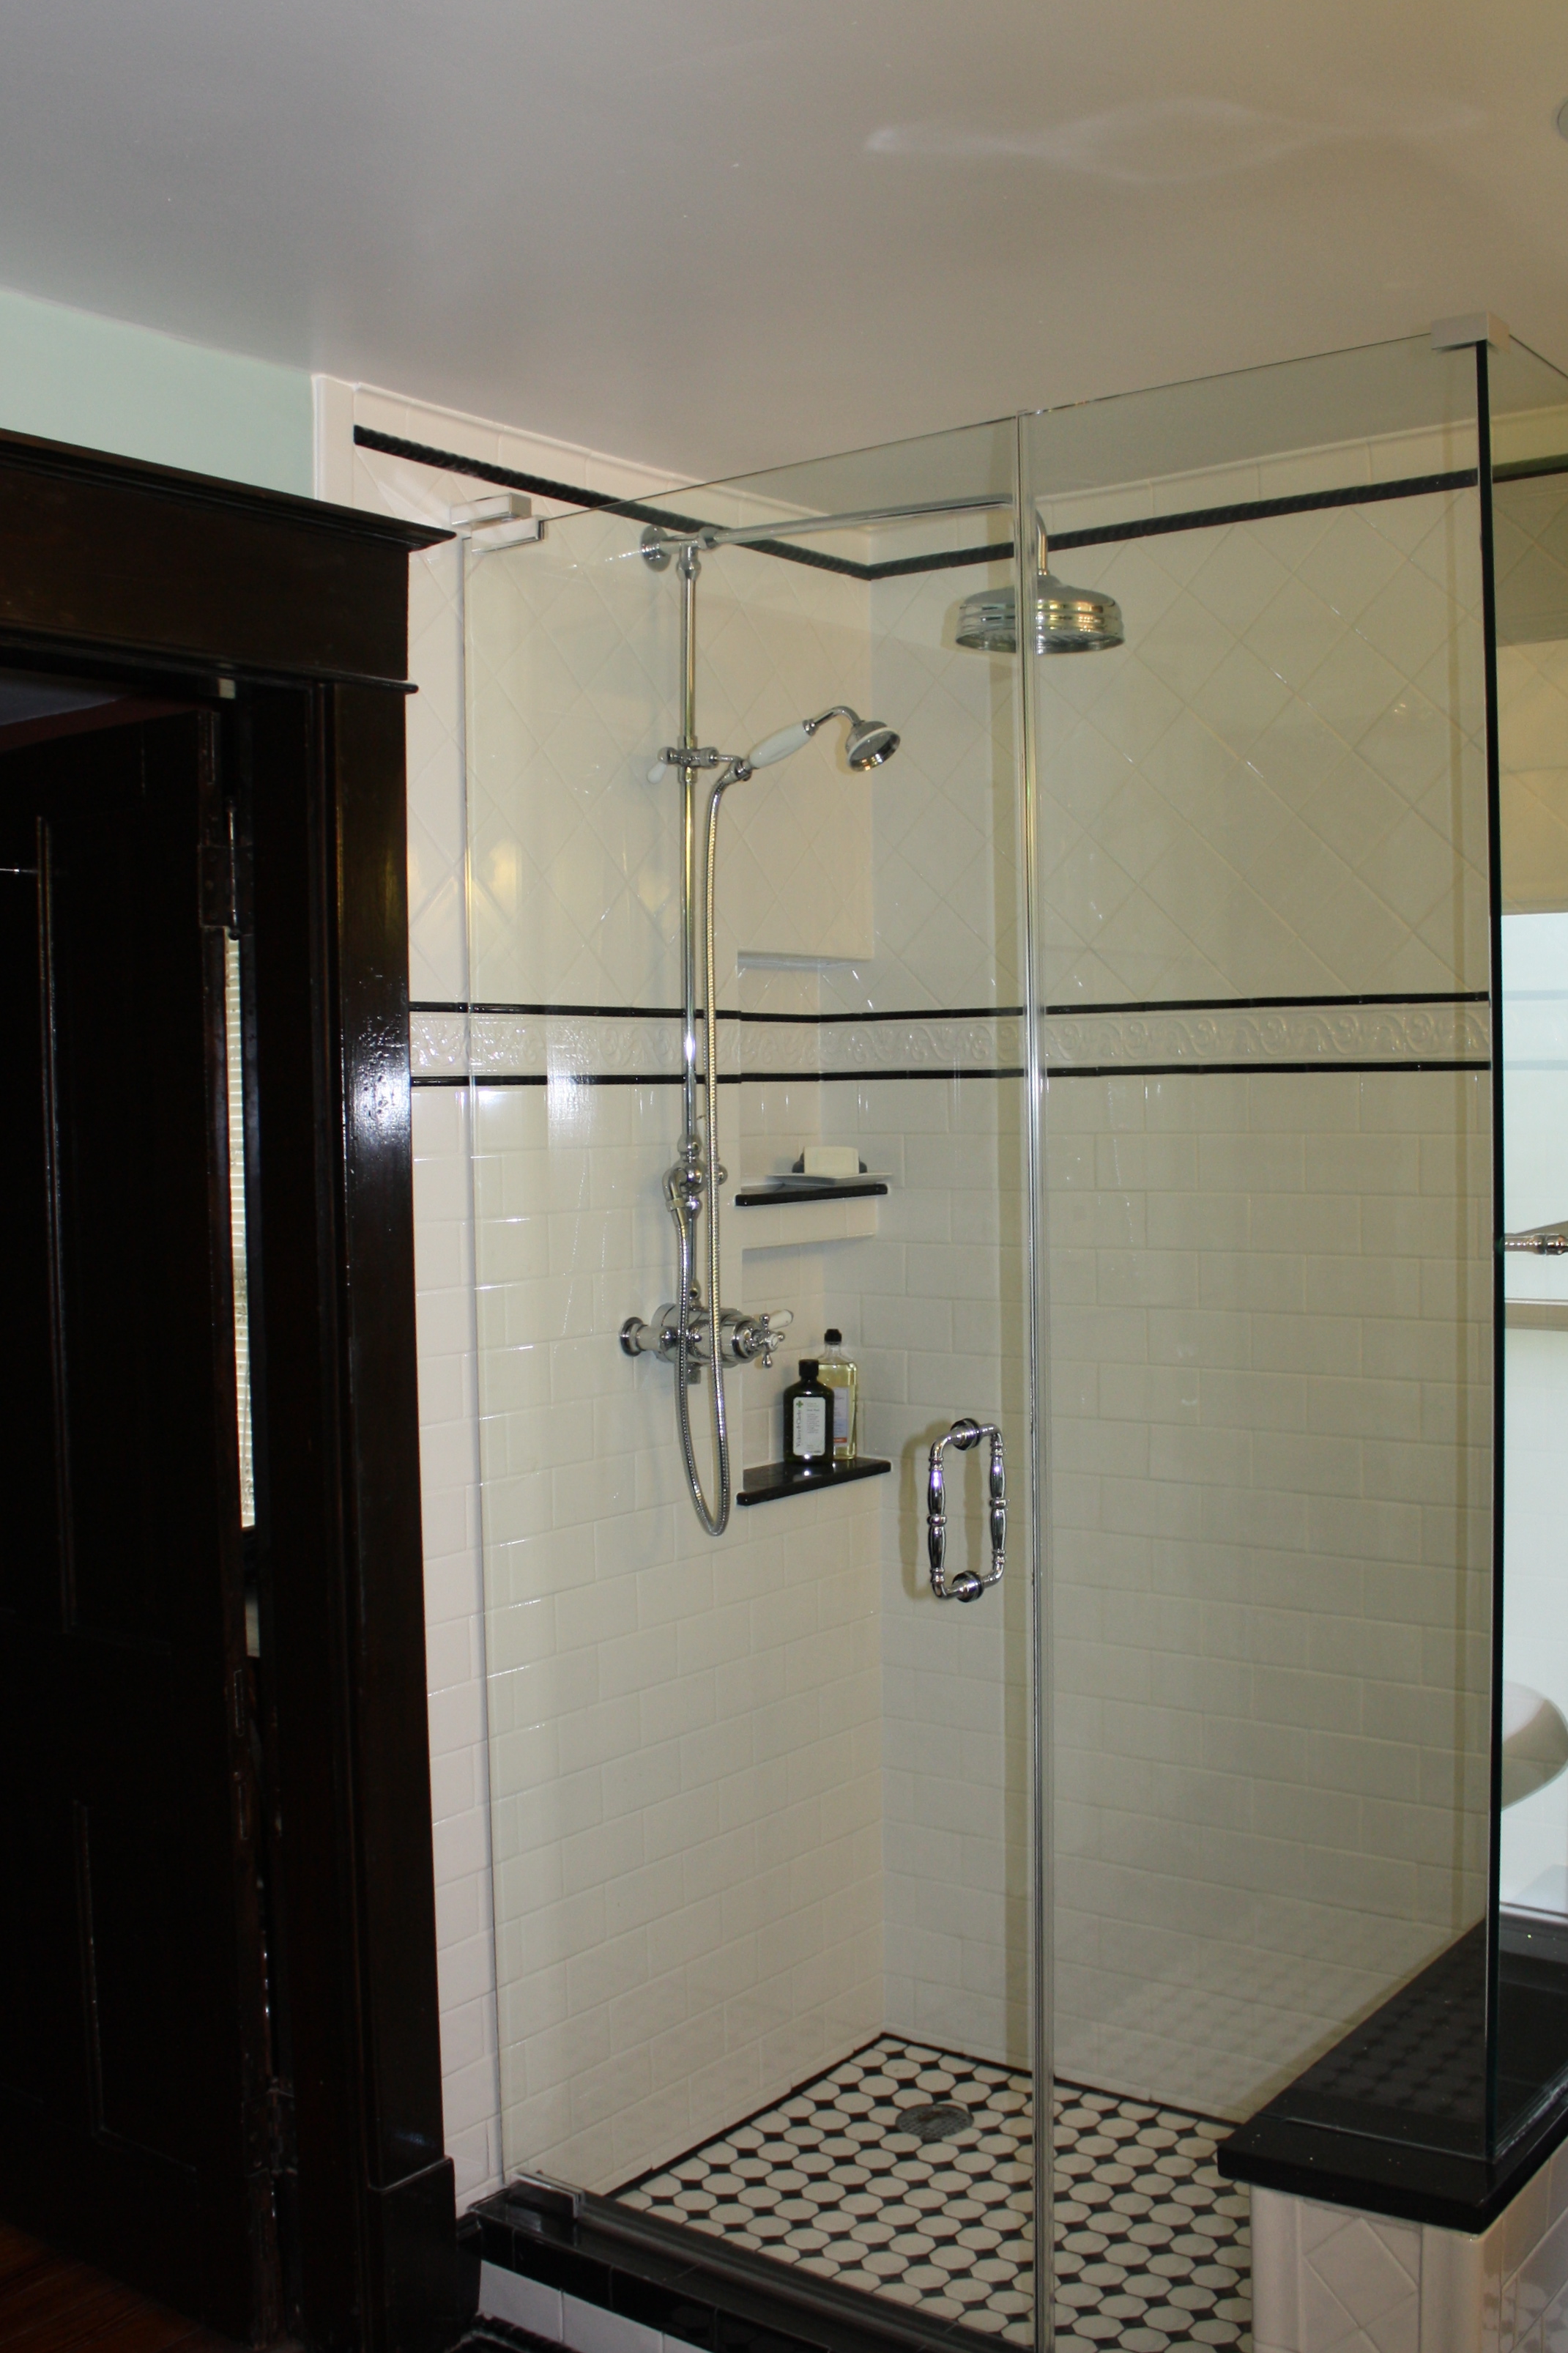
Let’s talk about this showerhead. When first talking about this bath, I said “I want a rain showerhead.” My wonderful husband said “Ew. No.” I argued vehemently – “You are getting the air-jet tub… can’t I have this?” I said this as though an air-jet clawfoot tub was akin to some sort of third-world torture. I finally won by arguing my case with “Look, it’s the guest bathroom. We can do a normal showerhead in the Master Bath when we get there. Can I please have this for me?” I won, because he loves me so dearly. I’m a lucky girl.

(And, in case you don’t remember from the Master Bath posts, guess what went in the Master Bath?)


Here are some final pictures of the shower! Classic, simple, and lovely.


Next time, I’ll finish up showing you this bathroom, and tell you all about how it made it into the pages of “This Old House” magazine!!!
And, incidentally, if you ARE paying attention to this little scrapbook of renovation, please share it with your friends!