

After the wallpaper was up (Post 1, if you missed it!), I sat in the space and just planned out the ideal laundry room. A good way to start with any room design is to make a list of EVERYTHING you need to do or store in the space. It gives you a way to plan tasks, cabinets, or furniture to be as efficient and perfect as possible.
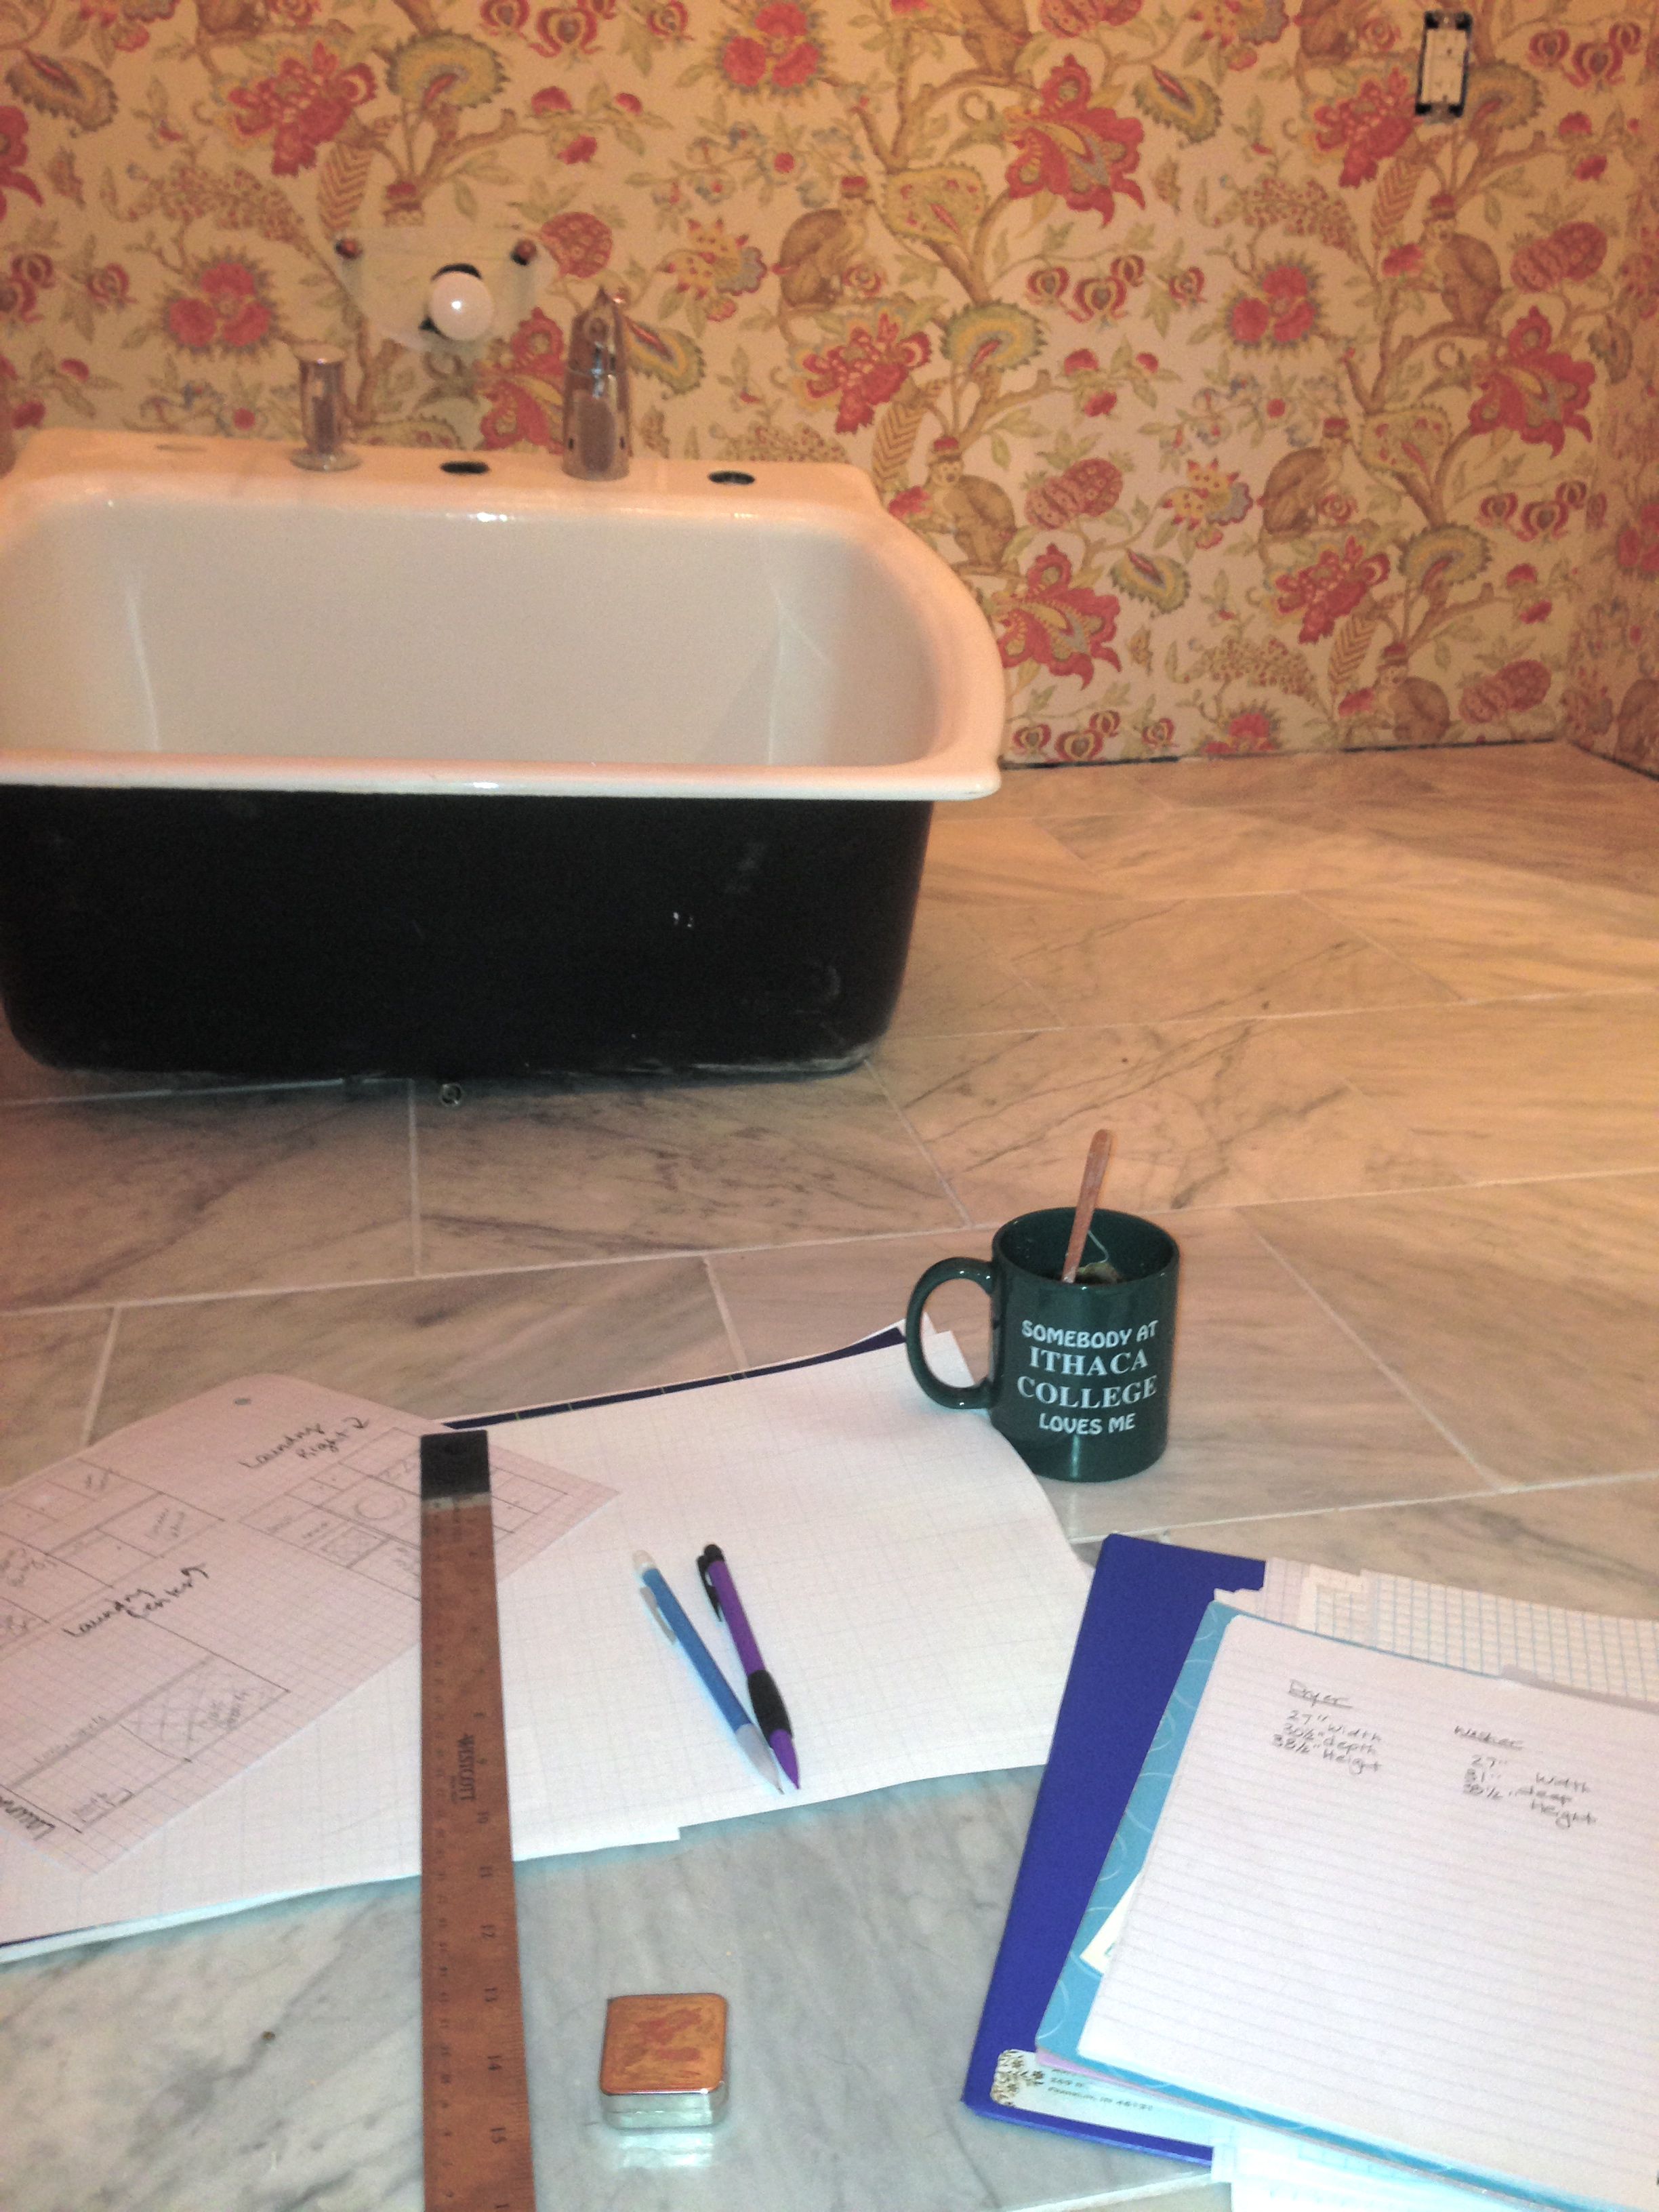
Also, my friend Mae came over to visit. She has big plans for the laundry room sink – clever girl, she measured to make sure it fit.

Also, her plan for the room is CLEARLY better than mine. She’s hired.

I started looking for cabinets for the laundry room. We have a small, yet completely perfectly-sized space. I wanted to re-purpose cabinets, because it’s better all around for mother earth, but also because I really really REALLY like to refinish furniture and cabinetry. So I was super excited for finding cabinets to reinvent. The biggest issue was the space between the washer and the chase for the electrical box – it had to be just the right dimensions to fit the old kitchen sink. Basically, I wanted to find a set of kitchen cabinets, use what we needed, and then use the rest either in the laundry room at the rental, the basement, or sell them. I looked on Craigslist, at Habitat Restore, and our local salvage yard. Nothing was quite right – too many base cabinets….no upper cabinets…. all upper cabinets….sink cabinets that were way too big…. I kind of gave up. There were some great sets at Habitat, and I LOVE supporting Habitat whenever I can, but the problem was that they won’t break up their sets of kitchen cabinets, which I TOTALLY understand. But with the budget we had, we couldn’t spend what they wanted for a full set, knowing that we wouldn’t use all of it.
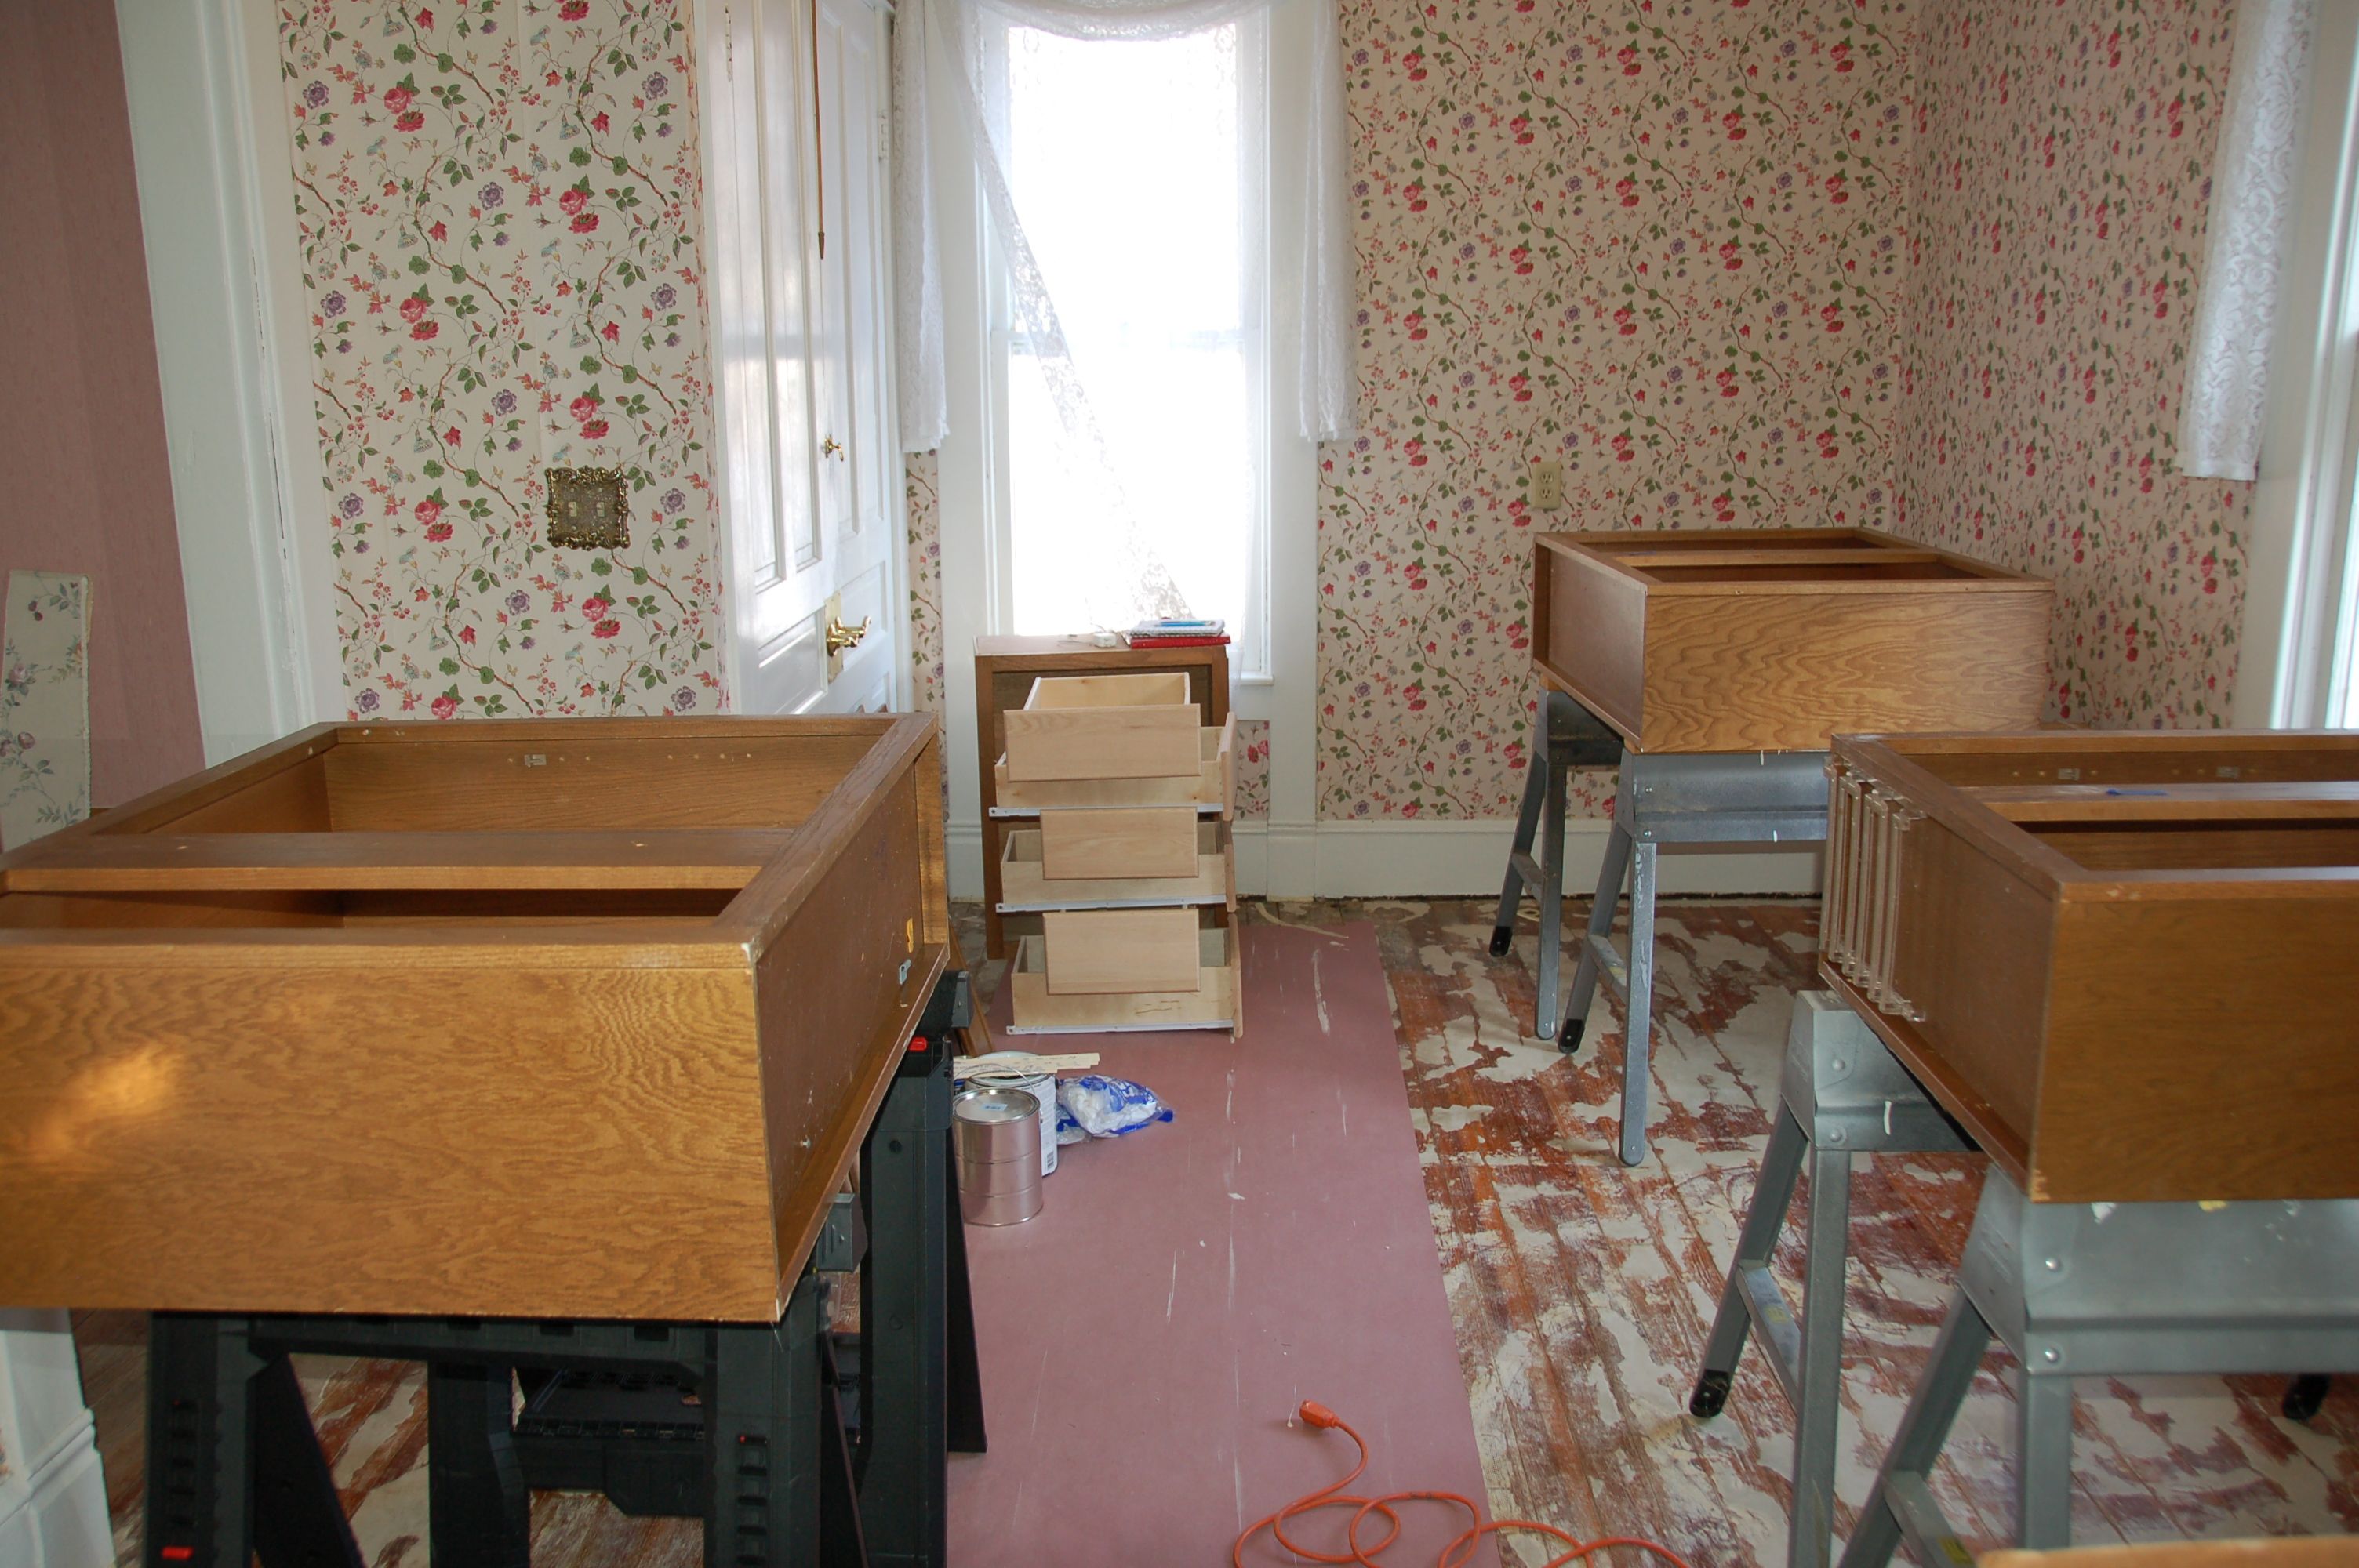
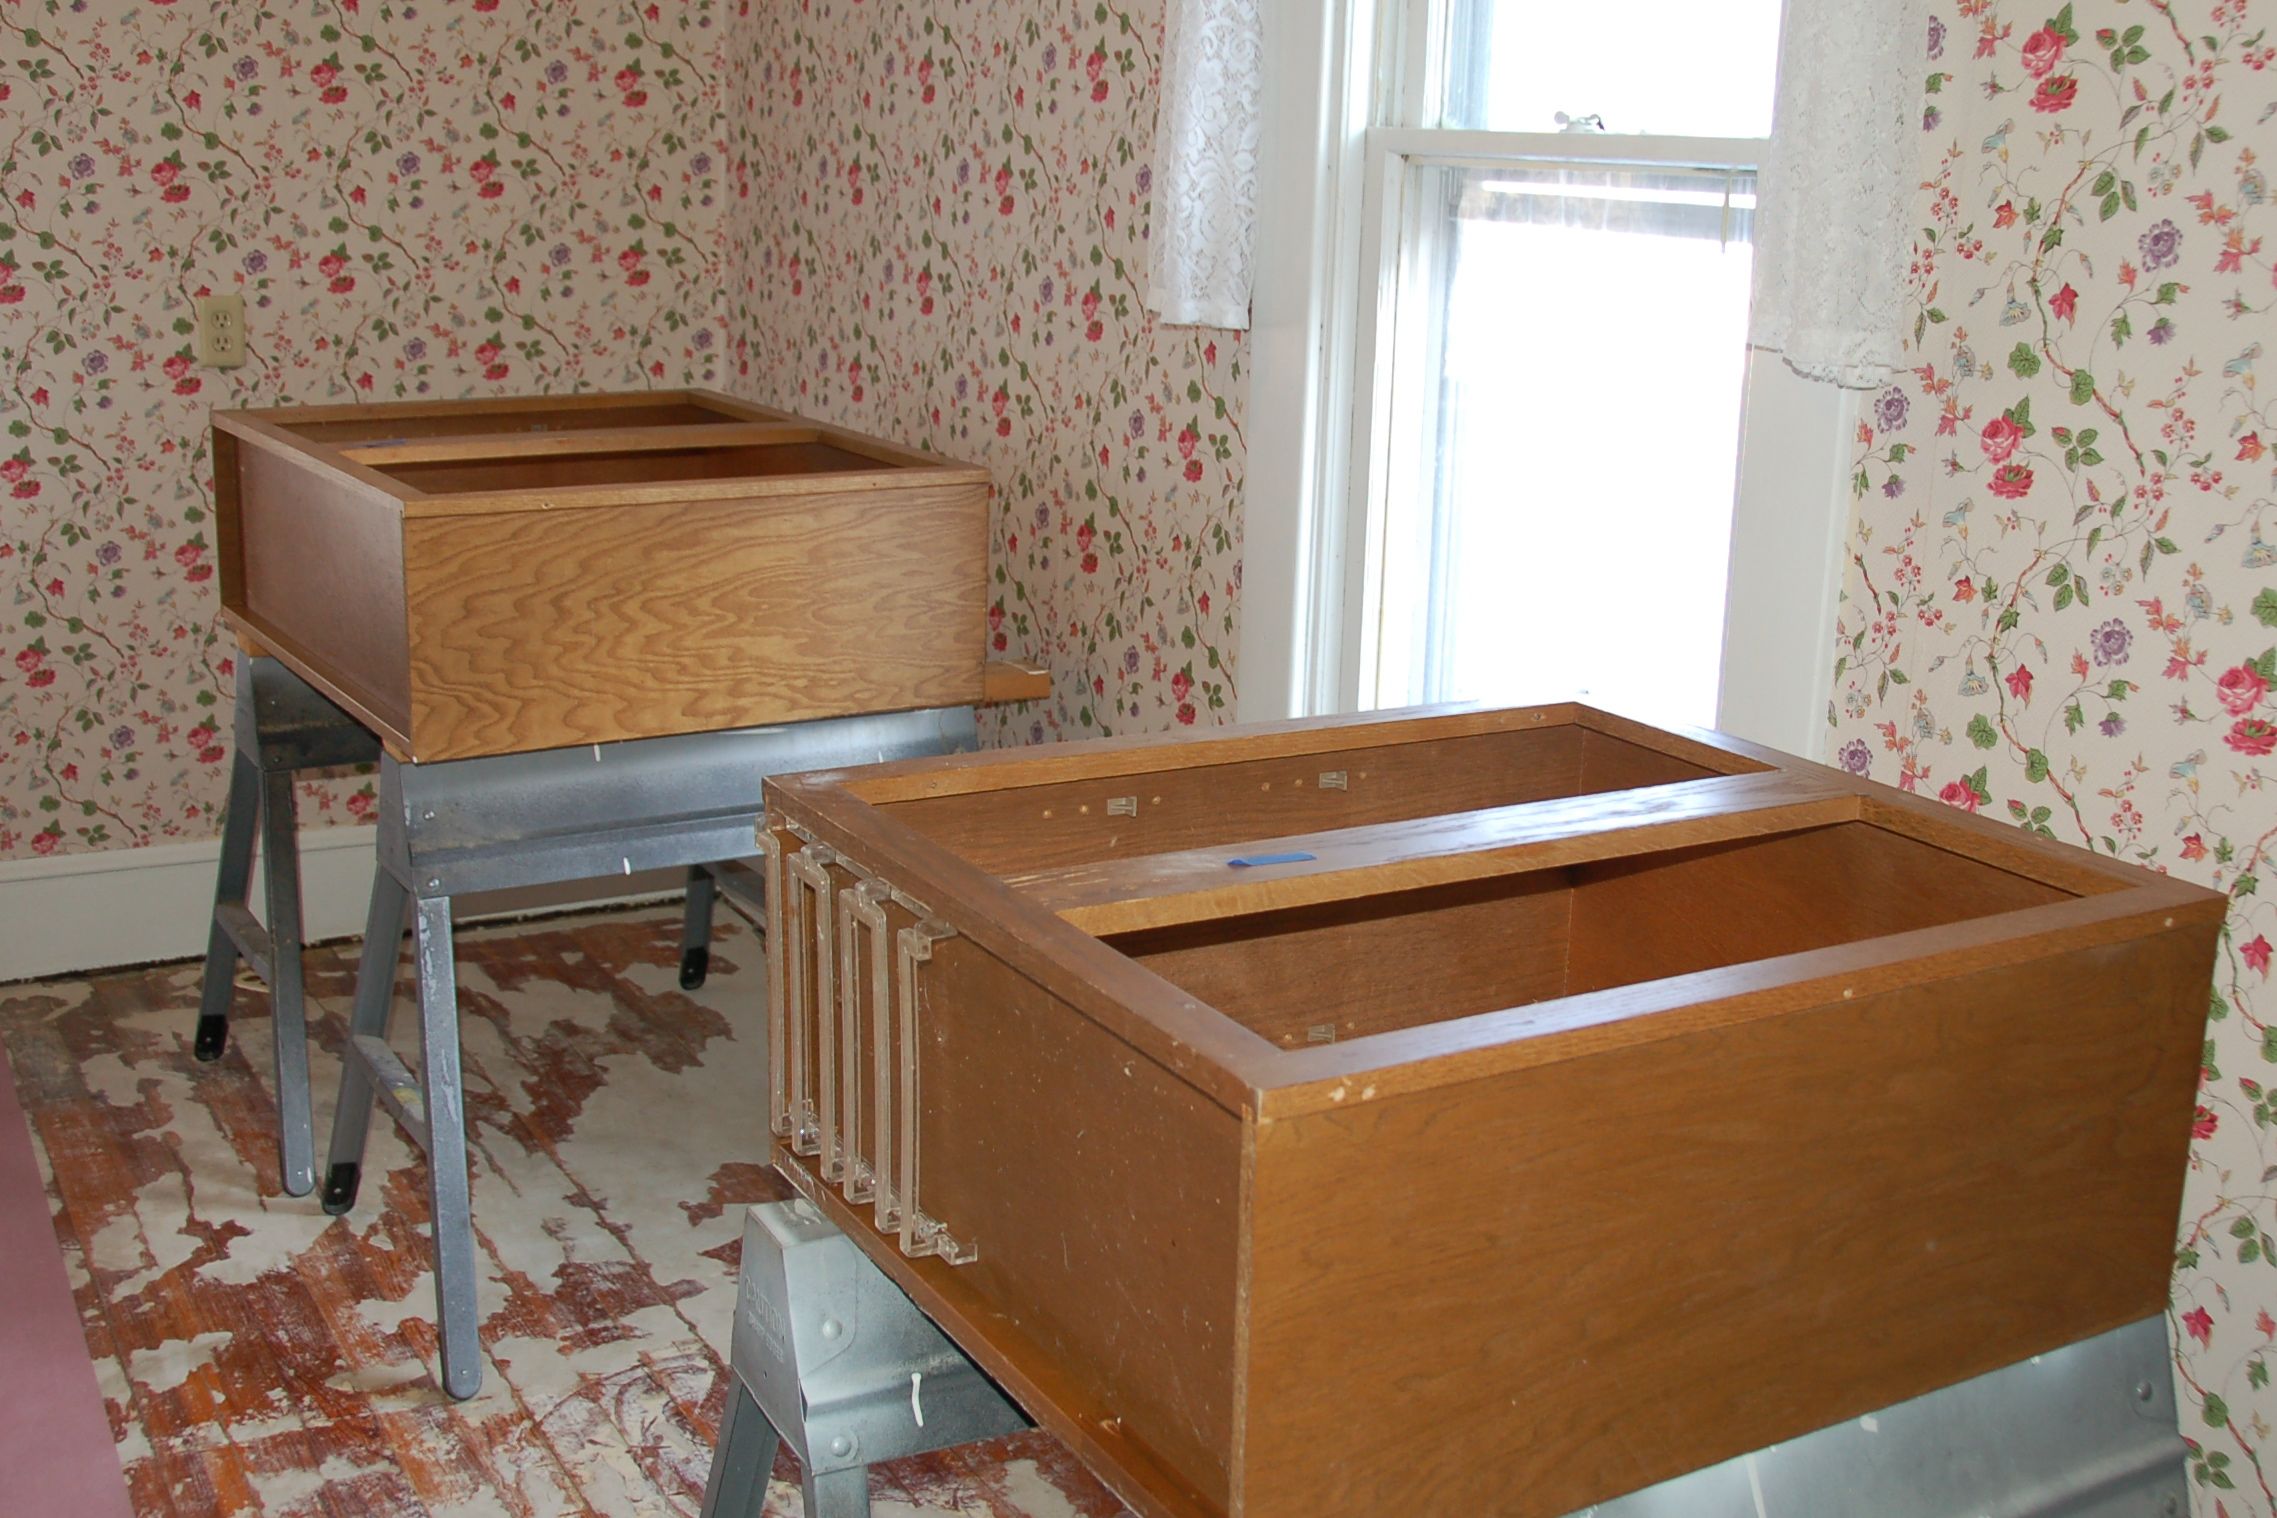
Driving to my family’s over Christmas, I was looking on Craigslist, and something reminded me that my parents recently went through a kitchen remodel. I texted my mom, and asked if they had saved the leftover cabinets. She said they had four upper cabinets leftover – the rest had gone with the contractors. We loaded them up, and knew that we could make them work. There is something fun about using the cabinets from my childhood home in our current home!


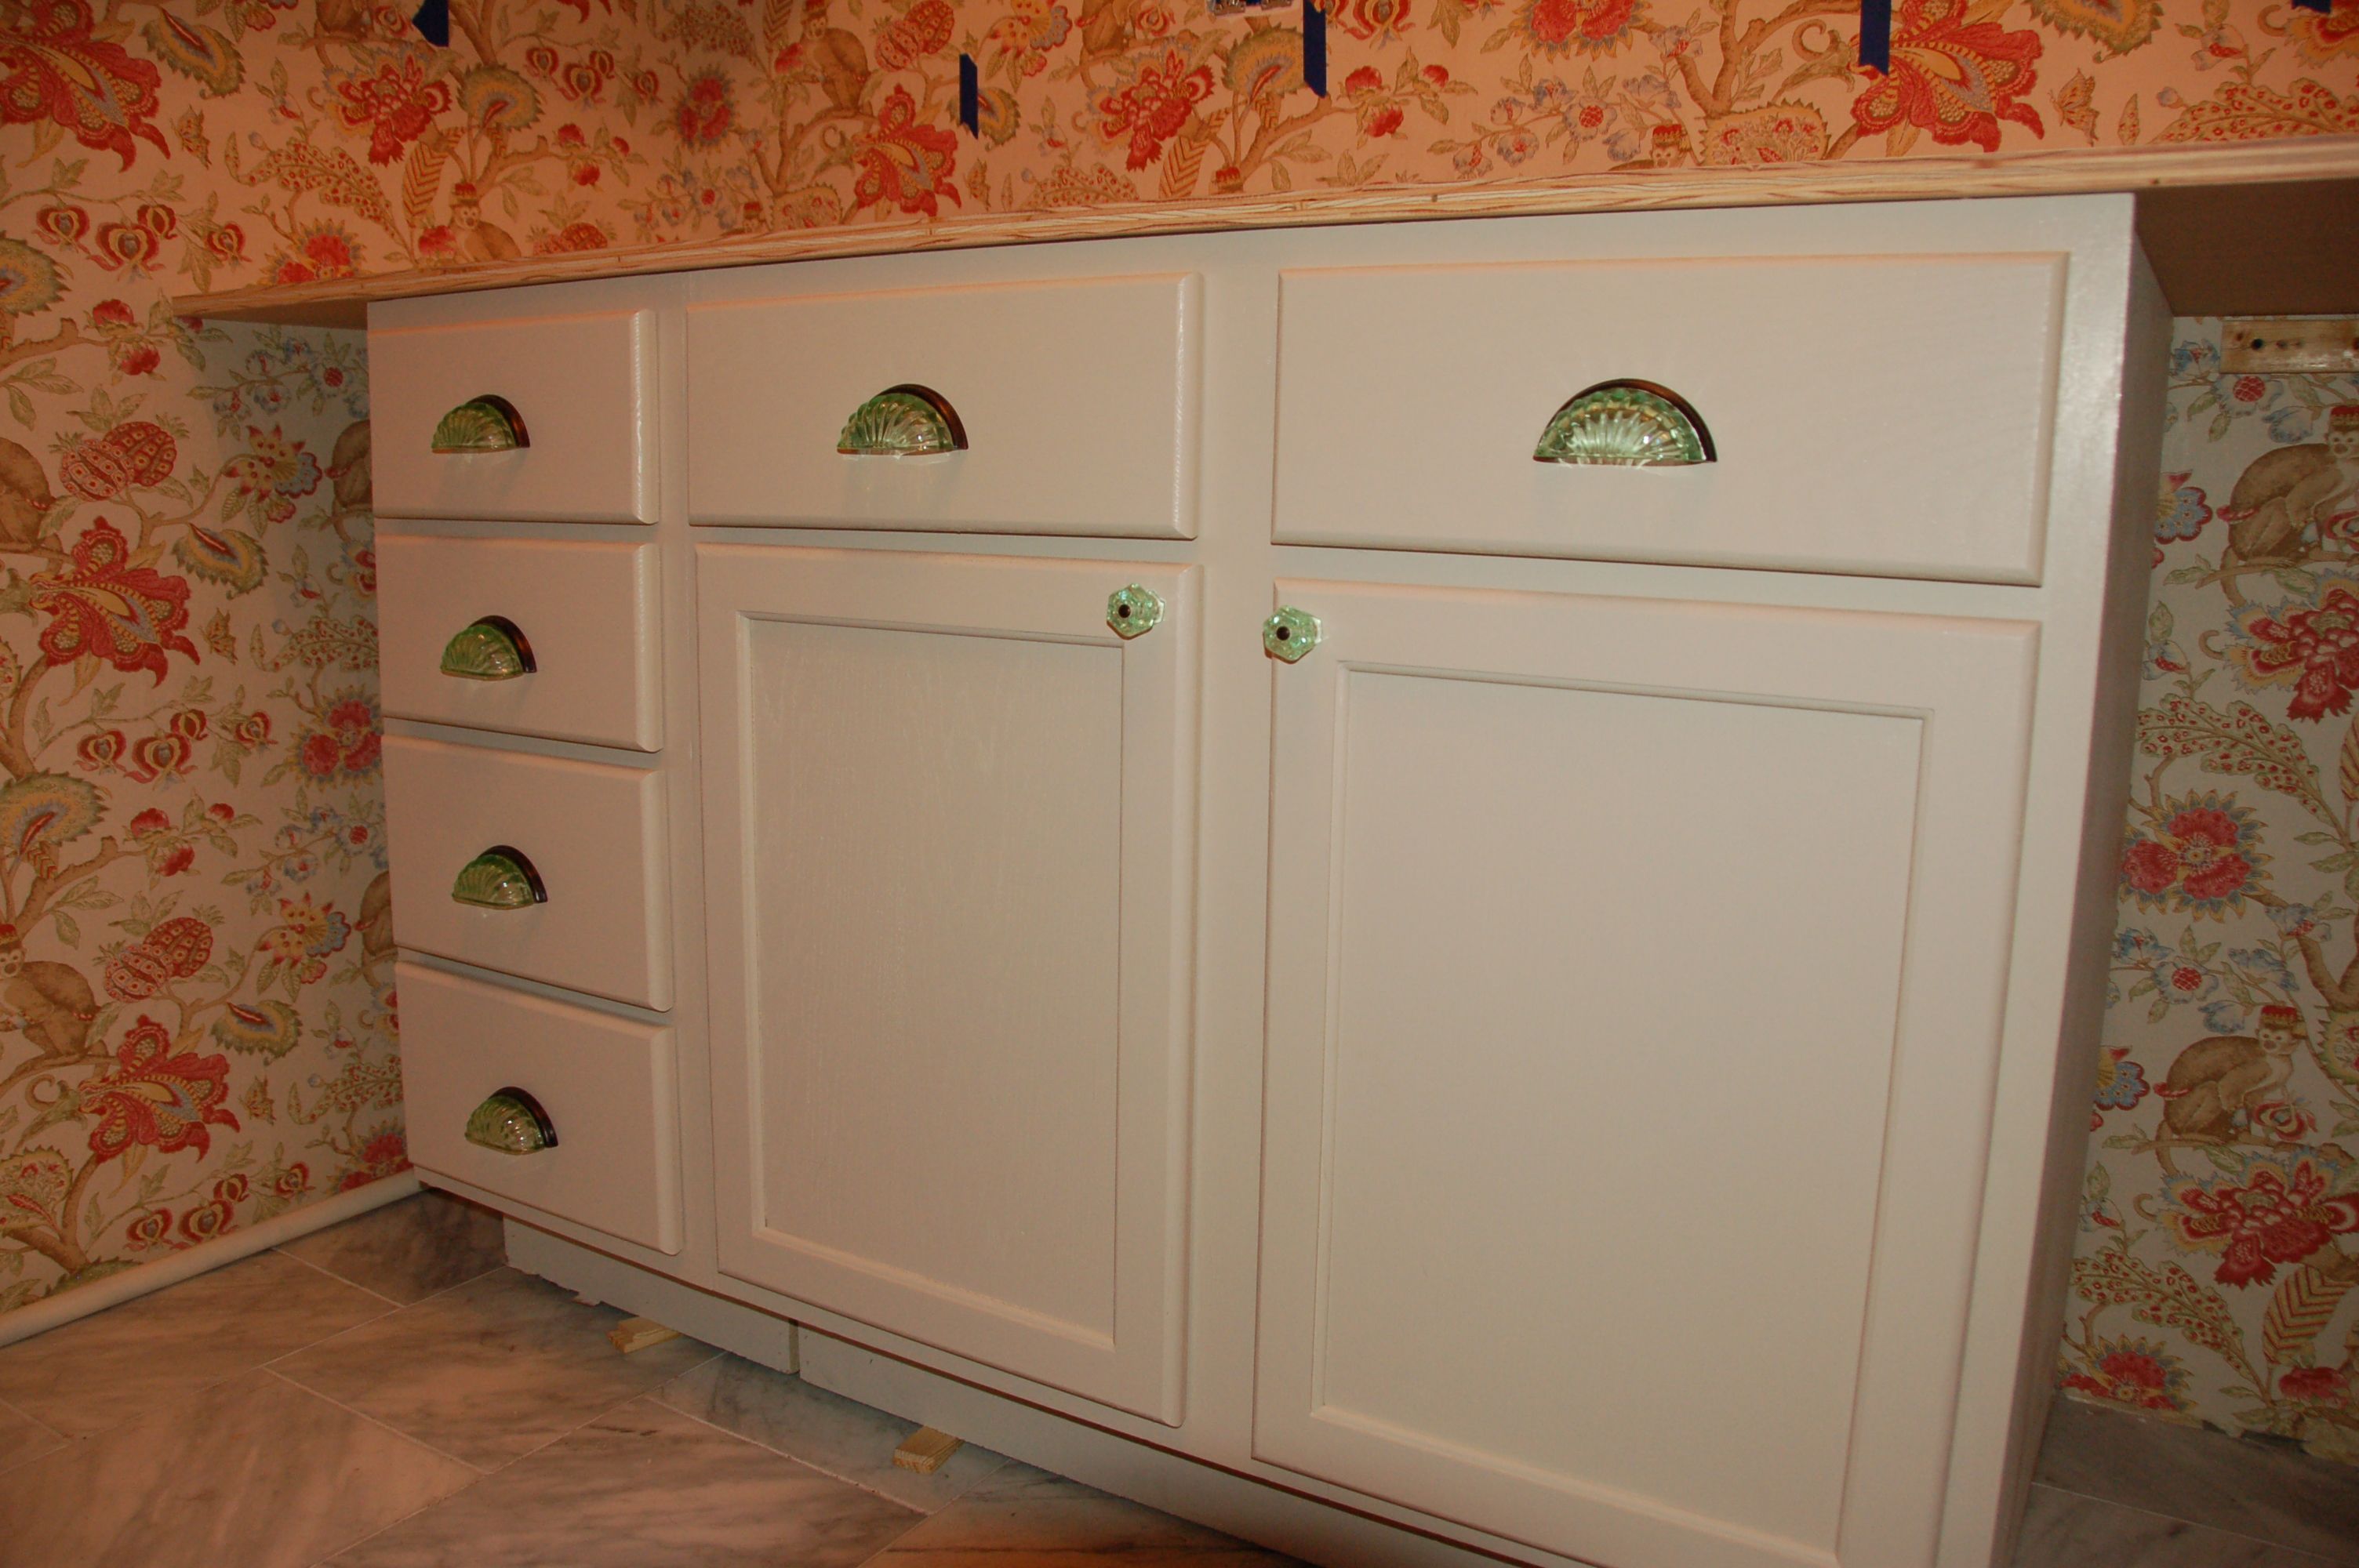
Then, we bought unfinished lower cabinets which would fit the awkward sink space the way we needed.

All in all, this seemed like a pretty good plan. My thought was to contrast the dark cabinets of the kitchen, with very light cabinets in the laundry room. I mixed some brown into the cream color that I used on the trim to darken it just a shade. Fun fact : it’s really just about the same color. Alas. But, I like it. Also, it was nice to paint inside during the polar vortex and not really worry about the floors. If we have to refinish them anyway, who really cares if I get paint on them now? I mean, I didn’t go crazy, but I didn’t have to worry, which was nice. I used the library downstairs to do the base cabinets, since they were heavy and I didn’t feel like lugging them upstairs. (Also, I misplaced my camera for a couple of days during this, so some of these pictures are from my phone and not great. I’m sorry.)


The uppers and all the doors, I used the master bedroom as my painting space, since it was the brightest space with the worst floors. Bonus : being creeped out by the mural in the room made me paint faster.

We’ve had a lot of snow days here in the Indianapolis area this winter, and the cabinetry has been my main focus on those days off. I started by sanding everything down. I used my orbital sander, and then wiped everything down with a liquid de-glosser. Overkill? Maybe. But prep work makes the best work! So, there you go.

The upper cabinets from my parents were made of nice, good wood that was just old and stained and dinged from being used for years and years to hold important things like Macaroni and Cheese for me. I felt like the whole thing, inside and out, needed freshening up. Since I think buying paint in quarts should be against the law (I mean, REALLY. Why would you spend so much for a quart when just a little more gets you a gallon? I get it. You only NEED a quart. But it’s still dumb. Leftover paint is just a future amazing project waiting to happen), I decided to paint the interior of the cabinets with the leftover paint from the laundry room ceiling. I only had about 80% of a gallon left. So, that’ll work.


Maybe because it was pink, or maybe because I love surprise colors, I kept thinking of Nathan Lane in “The Birdcage.”
“What? One does want a HINT of color!”

After painting the inside pink, I primed the outside.

Marina felt like hanging out right in the middle was helpful.

After priming, came painting the frame. I always use Floetrol when painting cabinets, so the finish comes out so nice and smooth.

Next, I repeated the process on the doors. By the end, I was pretty convinced there were 1,008 doors. Apparently, there were only 12 in real life.


I did not paint the inside of the base cabinets pink, but I did paint the inside inset of the base cabinet doors pink.

The cabinets came out GREAT. In the next post, I’ll talk about getting them hung and the room layout, but I’ll give you a sneak peak of how they look together in the space! I’m pretty excited!


Looks fantastic!
“Agadore, I need my Pirin tablets.”
Thanks, Jess!
“Are you afraid of my Wha-ta-malan-ness?”