

Doug is still working on the infrastructure for the bathroom – plumbing, currently – which is really a one-person project in that space. So he’s hanging out here :

And he’s doing very important stuff, like making sure water can go to the right places, and that the plumbing is in the right spot and has a secure place to be mounted to.
And goodness, I AM EXCITED FOR IT.


Just doing a dryfit to make sure everything is going to be in the right place. I’m super excited about the showerhead. Also, apparently I don’t take very good in-focus pictures when I’m standing on joists instead of a floor.
In the meantime, I’ve been working on some solo projects myself. Though I’m really excited to get back to working on a project together, because that’s way more fun.
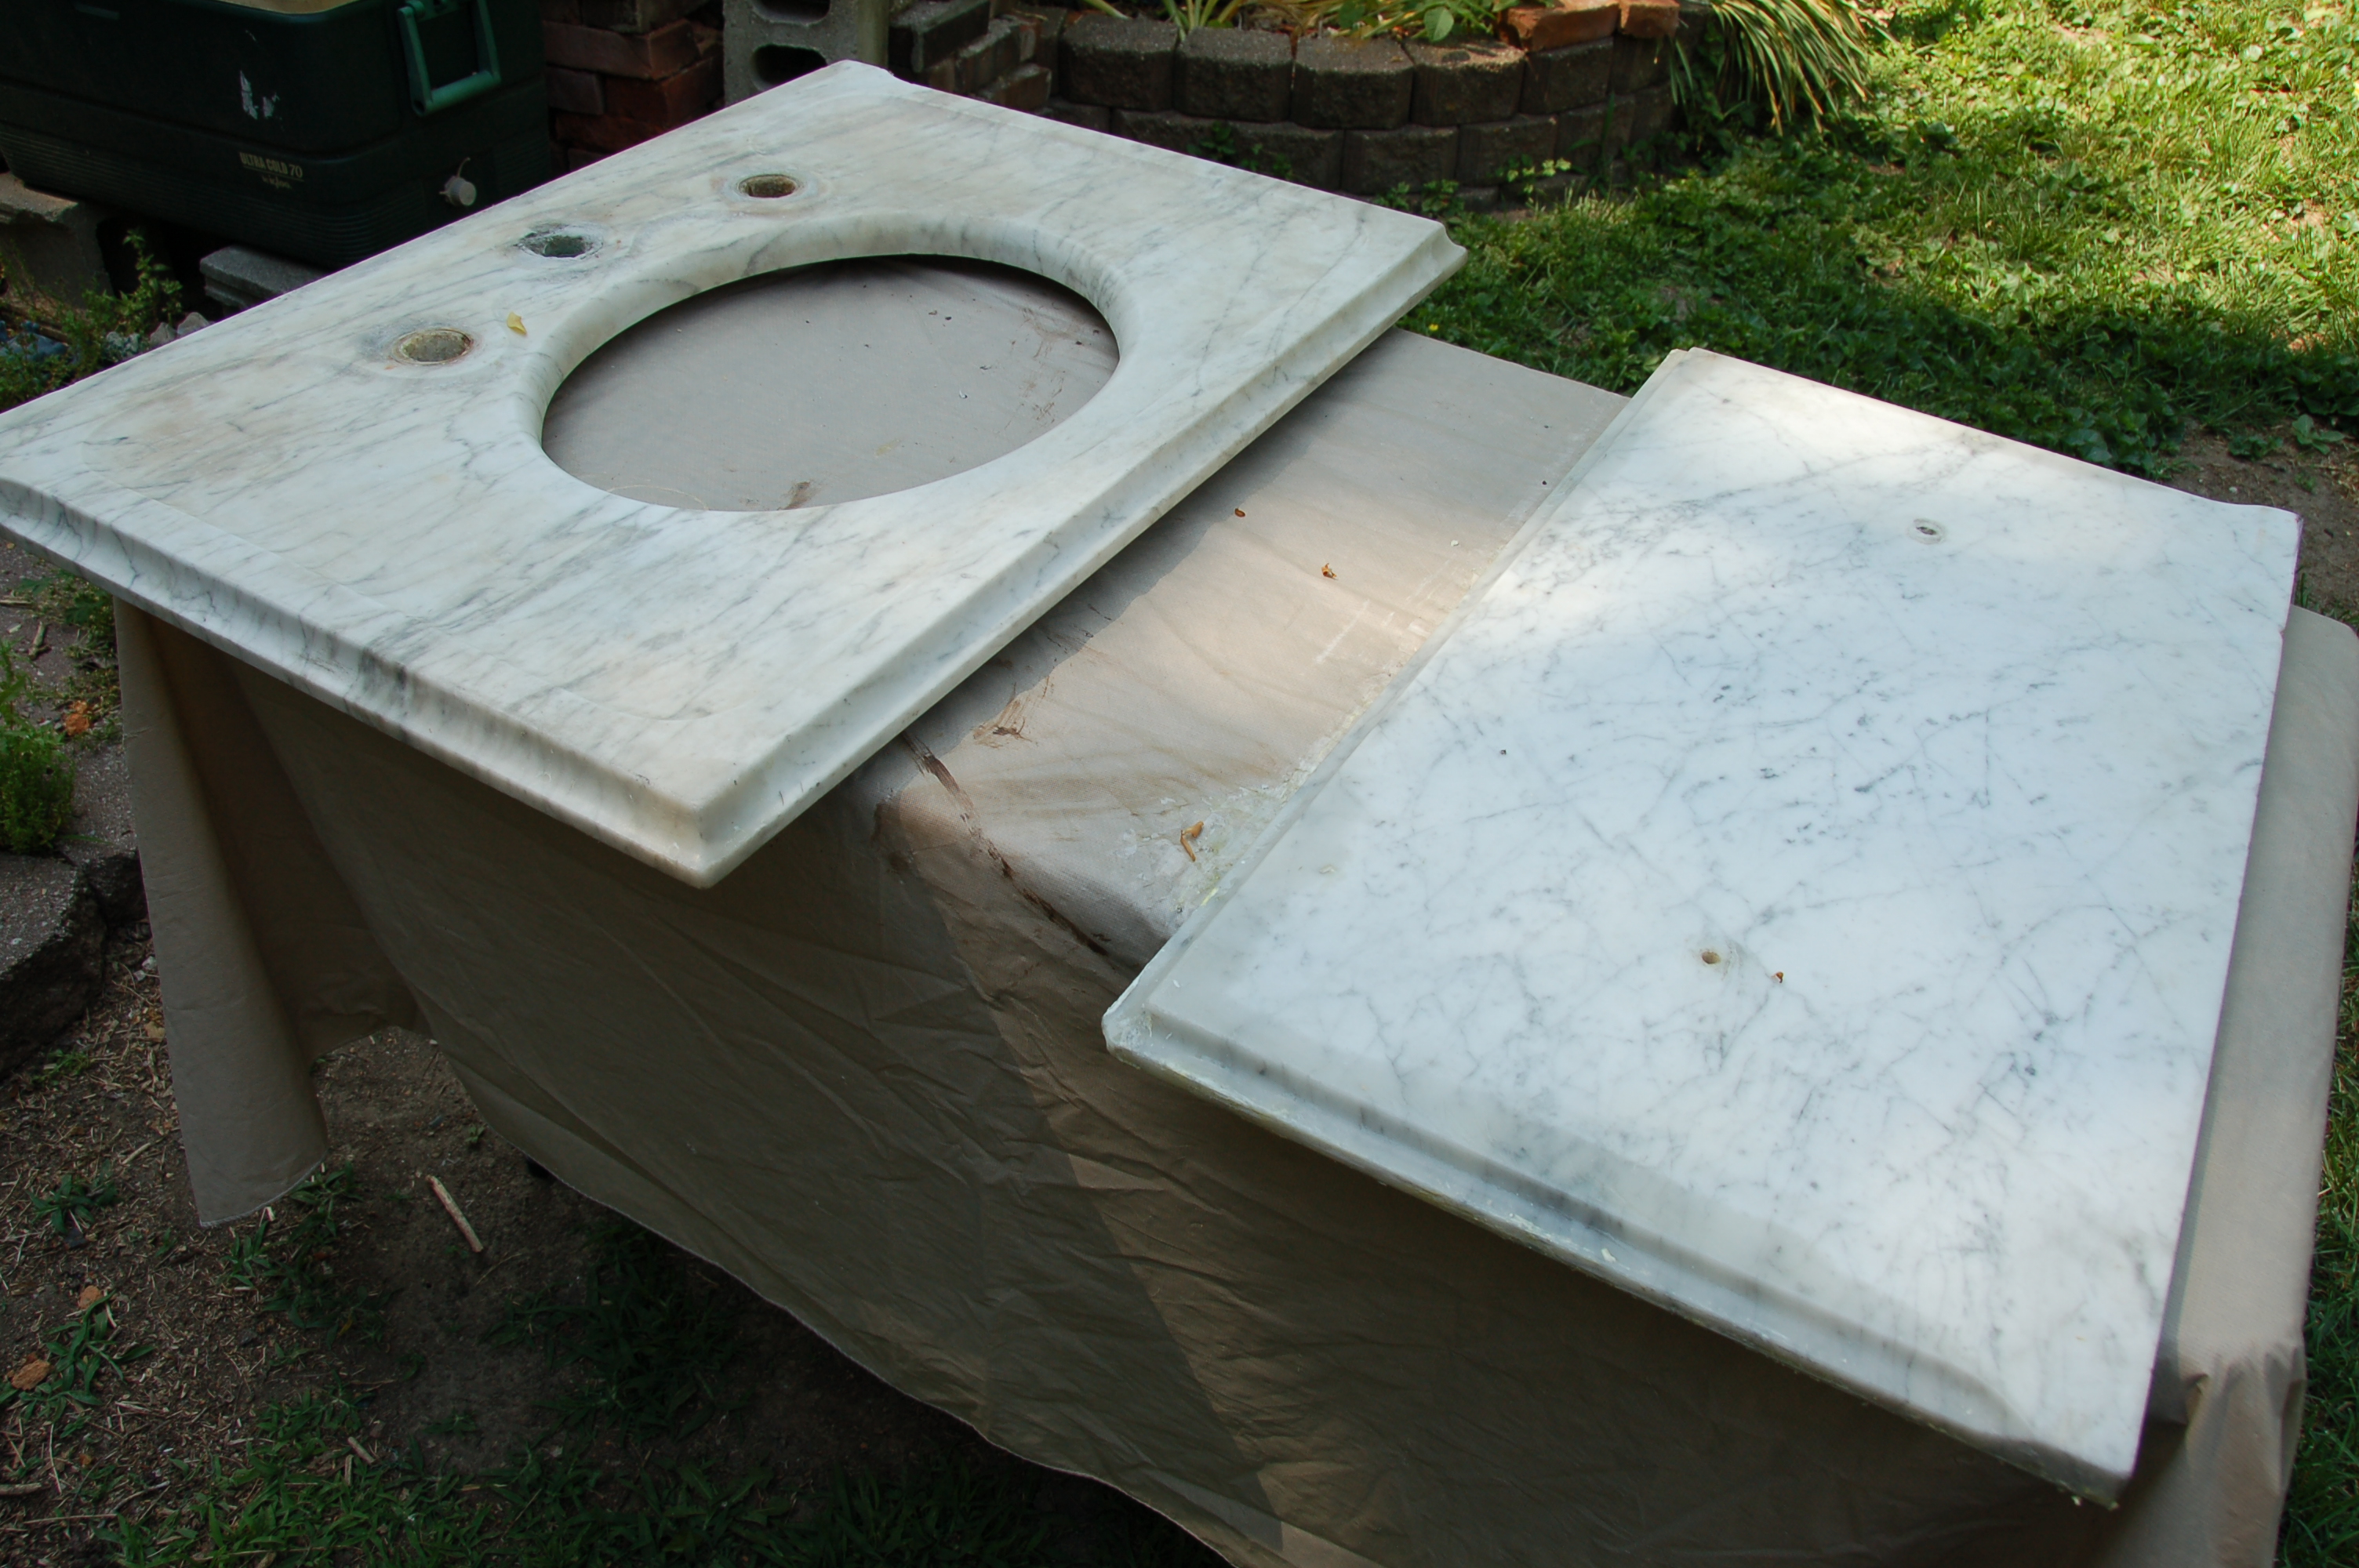
If you remember, I did a whole series on Victorian Bathrooms, and shared a photo of this sink from a Victorian plumbing catalogue. Glorious, right?

Last summer (before I even owned the book with the above picture), a house in downtown Indy was taking out some very old bathrooms (sadly), and put this sink up for sale on Craigslist. We snagged it up! Someone else bought the brackets before we got to the sink – it seemed odd to separate them, but we took the sink regardless.

And, we found a great pair of brackets at Madison Street Salvage.

Again, we totally had these before we found the Victorian Plumbing Catalog. But don’t they look similar?

I painted them black!

For the past year, this has just been sitting upstairs, staring at us sadly with its 1980s plastic-pretend-crystal handles.

So this week, I set out to give the marble a facelift.

First, I stripped off the dried paint from houses past around the edges. It wasn’t bad, so not much was needed here.


Marble tends to darken and stain over time, it just starts to look dirty. One way to get stains out of marble, it to draw them out with baking soda. This isn’t for general cleaning – just stain removal. And I’ve never found it to be 100% perfect, but it makes a HUGE difference!

Step one: Get baking soda. And something to mix it in.

Step Two : Add Water to create a paste!

How much water? I try to get it about toothpaste thick. But I think it’s fine to be a little runnier, or a little thicker.
Step Three : spread the paste on the marble!


Step Four : Check with your quality manager to make sure you did it right.

Step Five : Grossly underestimate the amount of baking soda you need, and run out. Say a few swear words, then plan a trip to the store for more.
Step Six : Cover the paste with plastic to keep it moist.

Step seven : Wait 12-24 hours to check it.
Step eight : Unveil it!
Left side : No treatment. Right Side : Treatment. There’s a marked difference!

The top left corner wasn’t treated.

There are still some dark spots, but it’s MUCH improved! 
Here it is after the whole thing was treated (after my second trip to the store). 


I will probably attempt a second try at it, to see if I can get some more stains out. But at least for now, I think it just looks old, and not dirty. So I’m pretty pleased!
Before….

After! I hope it actually looks different in the pictures, and I’m not just imagining it. Because it does look different in real life!
I would love to know your tips on cleaning / salvaging old bath surfaces! I know there’s a lot out there that could be helpful for people who are working on salvaging old fixtures.
ALSO, I also ordered ALL THE TILE in the universe. At least, it feels that way! Want to see a sneak peak of some of the pretties that are going to come in the room? I’m SO GIDDY.


I have that exact shower hardware for my clawfoot tub, but in chrome. It’s very pretty! A little loud, and definitely more of a rain shower, but I do like it.
I LOVE rain showers, so I’m quite excited! 🙂
I can certainly see the difference, how awesome!
Wow wow wow, all those materials are all yummy. Can’t wait to see the mosaic floor design in situ!
That wallpaper, though…
Nice decor samples. Love the wallpaper. You have “the eye”.
Thanks for sharing this great tip about marble. I have some parlor table tops that have seen a little too much of life. This might brighten them up a bit.
Your bathroom is going to be glorious. The tile and wallpaper choices are yummy!
Thanks, Deb! As always, your comment brightens my day!
Yes, I can see the difference. It’s going to be beautiful. Love your tiles, wallpaper, etc.
I have taken some old marble to a tile fabrication business and they have polished it for me. They also rounded off some of the chips on the edges. It looked very nice, but it is way more expensive than your elbow grease. Love your blog and always look forward to it.
I had never thought about taking it to a marble place to work on! That would be great for something that’s really bad!
It looks good! Making a paste out of Oxiclean can work as well. I used that to drastically reduce a red wine stain that was on my mom’s marble countertop.
Oooh! Thanks, Jackie!
Basically we use baking soda at the time of food preparation. But also it is a good home made bathroom cleaner. We can also use it for cleaning toilet bowls, tiles, tubes, showers etc. We can directly use it or we can use a mixture of baking soda and vinegar which not cleans the bathroom but also deodorizes it. We usually use some sourcing power for cleaning or acids for cleaning the bathroom. But I think it is not a good idea to clean the room with such abrasive cleaners, because in some cases it may spread infection and create other health hazards. I think it is better to take an expert advice who can tell how use backing soda effecting for the purpose of cleaning.