When I was working on the Laundry Room counters years ago, I learned that stain isn’t my best friend. On that project, it was because the wood we were using for the counters was a maple plywood, and maple is so hard, that it doesn’t take to stain. A woodworker friend told me I would need to dye it, and at the time, I had no idea that dyeing wood was even a thing. But now, it’s pretty much all I use, because its’s faster, and I can really control the color better.
We want to add a lot of woodwork in the library, through crown mouldings, a ceiling treatment, and wrapping the fireplace. We ordered a lot of wood from New Mouldings (not sponsored) and I started working on the finishing – I wanted to finish the wood first before installing it, and I could touch anything up afterwards if needed. I also think that touch-ups after the fact are easier with dye than with stain.
For dyes, I use Transtint, and for Shellac, I use Zinsser Amber Shellac. (Also, not sponsored.) I mix the Transtint dye (a blend of a few colors) into denatured alcohol. From there, I play around with amounts until I get what I want. It’s kind of like being a mad scientist. Or a mad artist. Or a little of both.
I used some sample pieces to test the colors.
I try to look at it in different lights. Sometimes the wood in our house is VERY orange, and sometimes it looks more warm and brown. Just depends on the light! But this is a pretty close match, right?
Here’s a WHOLE BOARD when I was done with it. Pretty happy with this match! This is actually a baseboard, which we will hang upside down to be wall layer of the crown moulding.
And in the the sunlight. Still pretty okay with this! It’s a REALLY close match, and it’ll be over a foot above the doorframe, anyways!
To do this, I set myself up in the “former kitchen of apartment 3 / future primary bathroom” which is just a messy storage area.
I could only do a few pieces at once, so it took me a couple of weeks to do the wood for the whole room.
Dye first, and then shellac!
Can you see why I chose this as my indoor dyeing area? Peep that classy floor!
There’s a video on the whole process for this at the end, but I also wanted to show you how I get into the little crevices of a detailed piece, if the sponge and rag won’t get there.
Condiment cups are a really inexpensive way to prop up woodwork whiles you’re staining or dying pieces!
Here is the upper part of the crown moulding!
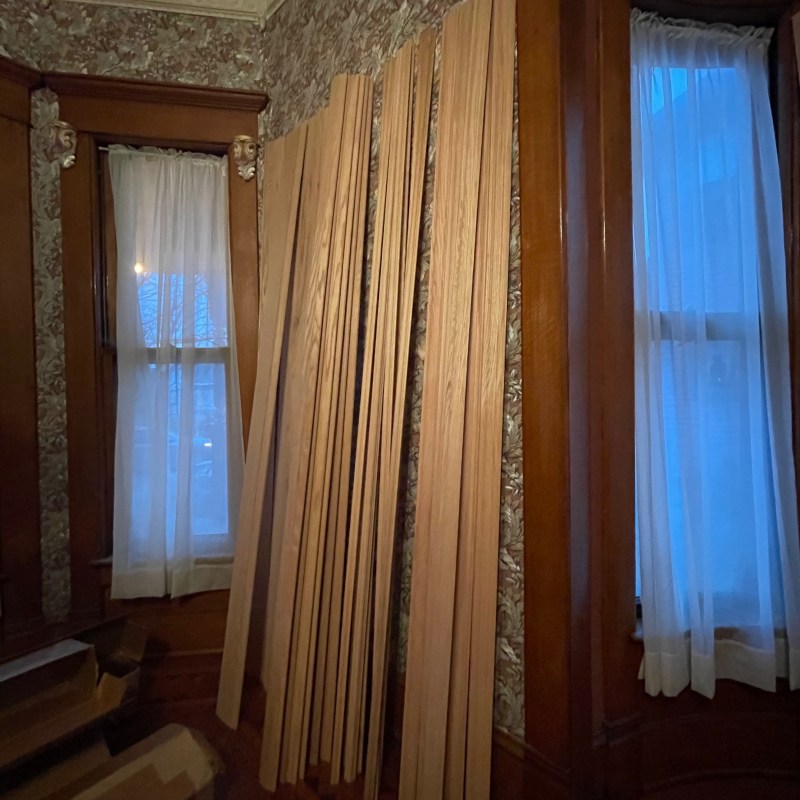
SO MUCH WOOD! This library is going to feel so cozy and homey when it’s done.
This is just the wood for the crown moulding – there will also be a ceiling treatment and picture rail as well. I did everything all at once, so the dyes matched. But this corner is just for the crown.
Here’s my process!
That’s how I dye and finish wood! I really like the control I can have over the color with the dye. It’s definitely my go to!


I’m so GREEN W/ ENVY that u can still buy denatured alcohol. Its been banned in California but required in order to desolve my shellac flakes so I’ve been hoarding my last can w/ the type of protection only a child deserves…
I can understand that!